Duplex Diaries: Guest Bedroom Before + After

THE PAST TWO WEEKS
It’s been exactly two weeks since I last posted about the duplex, and my oh my have we been hard at work since then! In my first blog post, I shared a lot about how we ended up with a duplex, but I was keeping a little secret that prevented me from being fully transparent with you guys. The secret has officially been revealed, which you can read all about in this post, and I can now be completely honest with you guys on how fast we need to move on these renovations.
Laundry Nooks, Kitchens, guest bedrooms, oh my!
Over the past two weeks, we’ve spent every spare moment working on the duplex. We decided to hyper focus on the side we’re living in (Duplex A), with the goal of finishing the guest bedroom on this side so we can “live out of” that bedroom and work on the rest of the house.
In addition to all of the work done on the guest bedroom, we’ve been working on finishing the laundry nook in Duplex A (we finally got our washer/dryer!) as well as reconfigure the kitchen. I will do separate posts for each of those renovations, and for the sake of today’s update we will stick to the completed guest bedroom!
Ready to see the before and after?
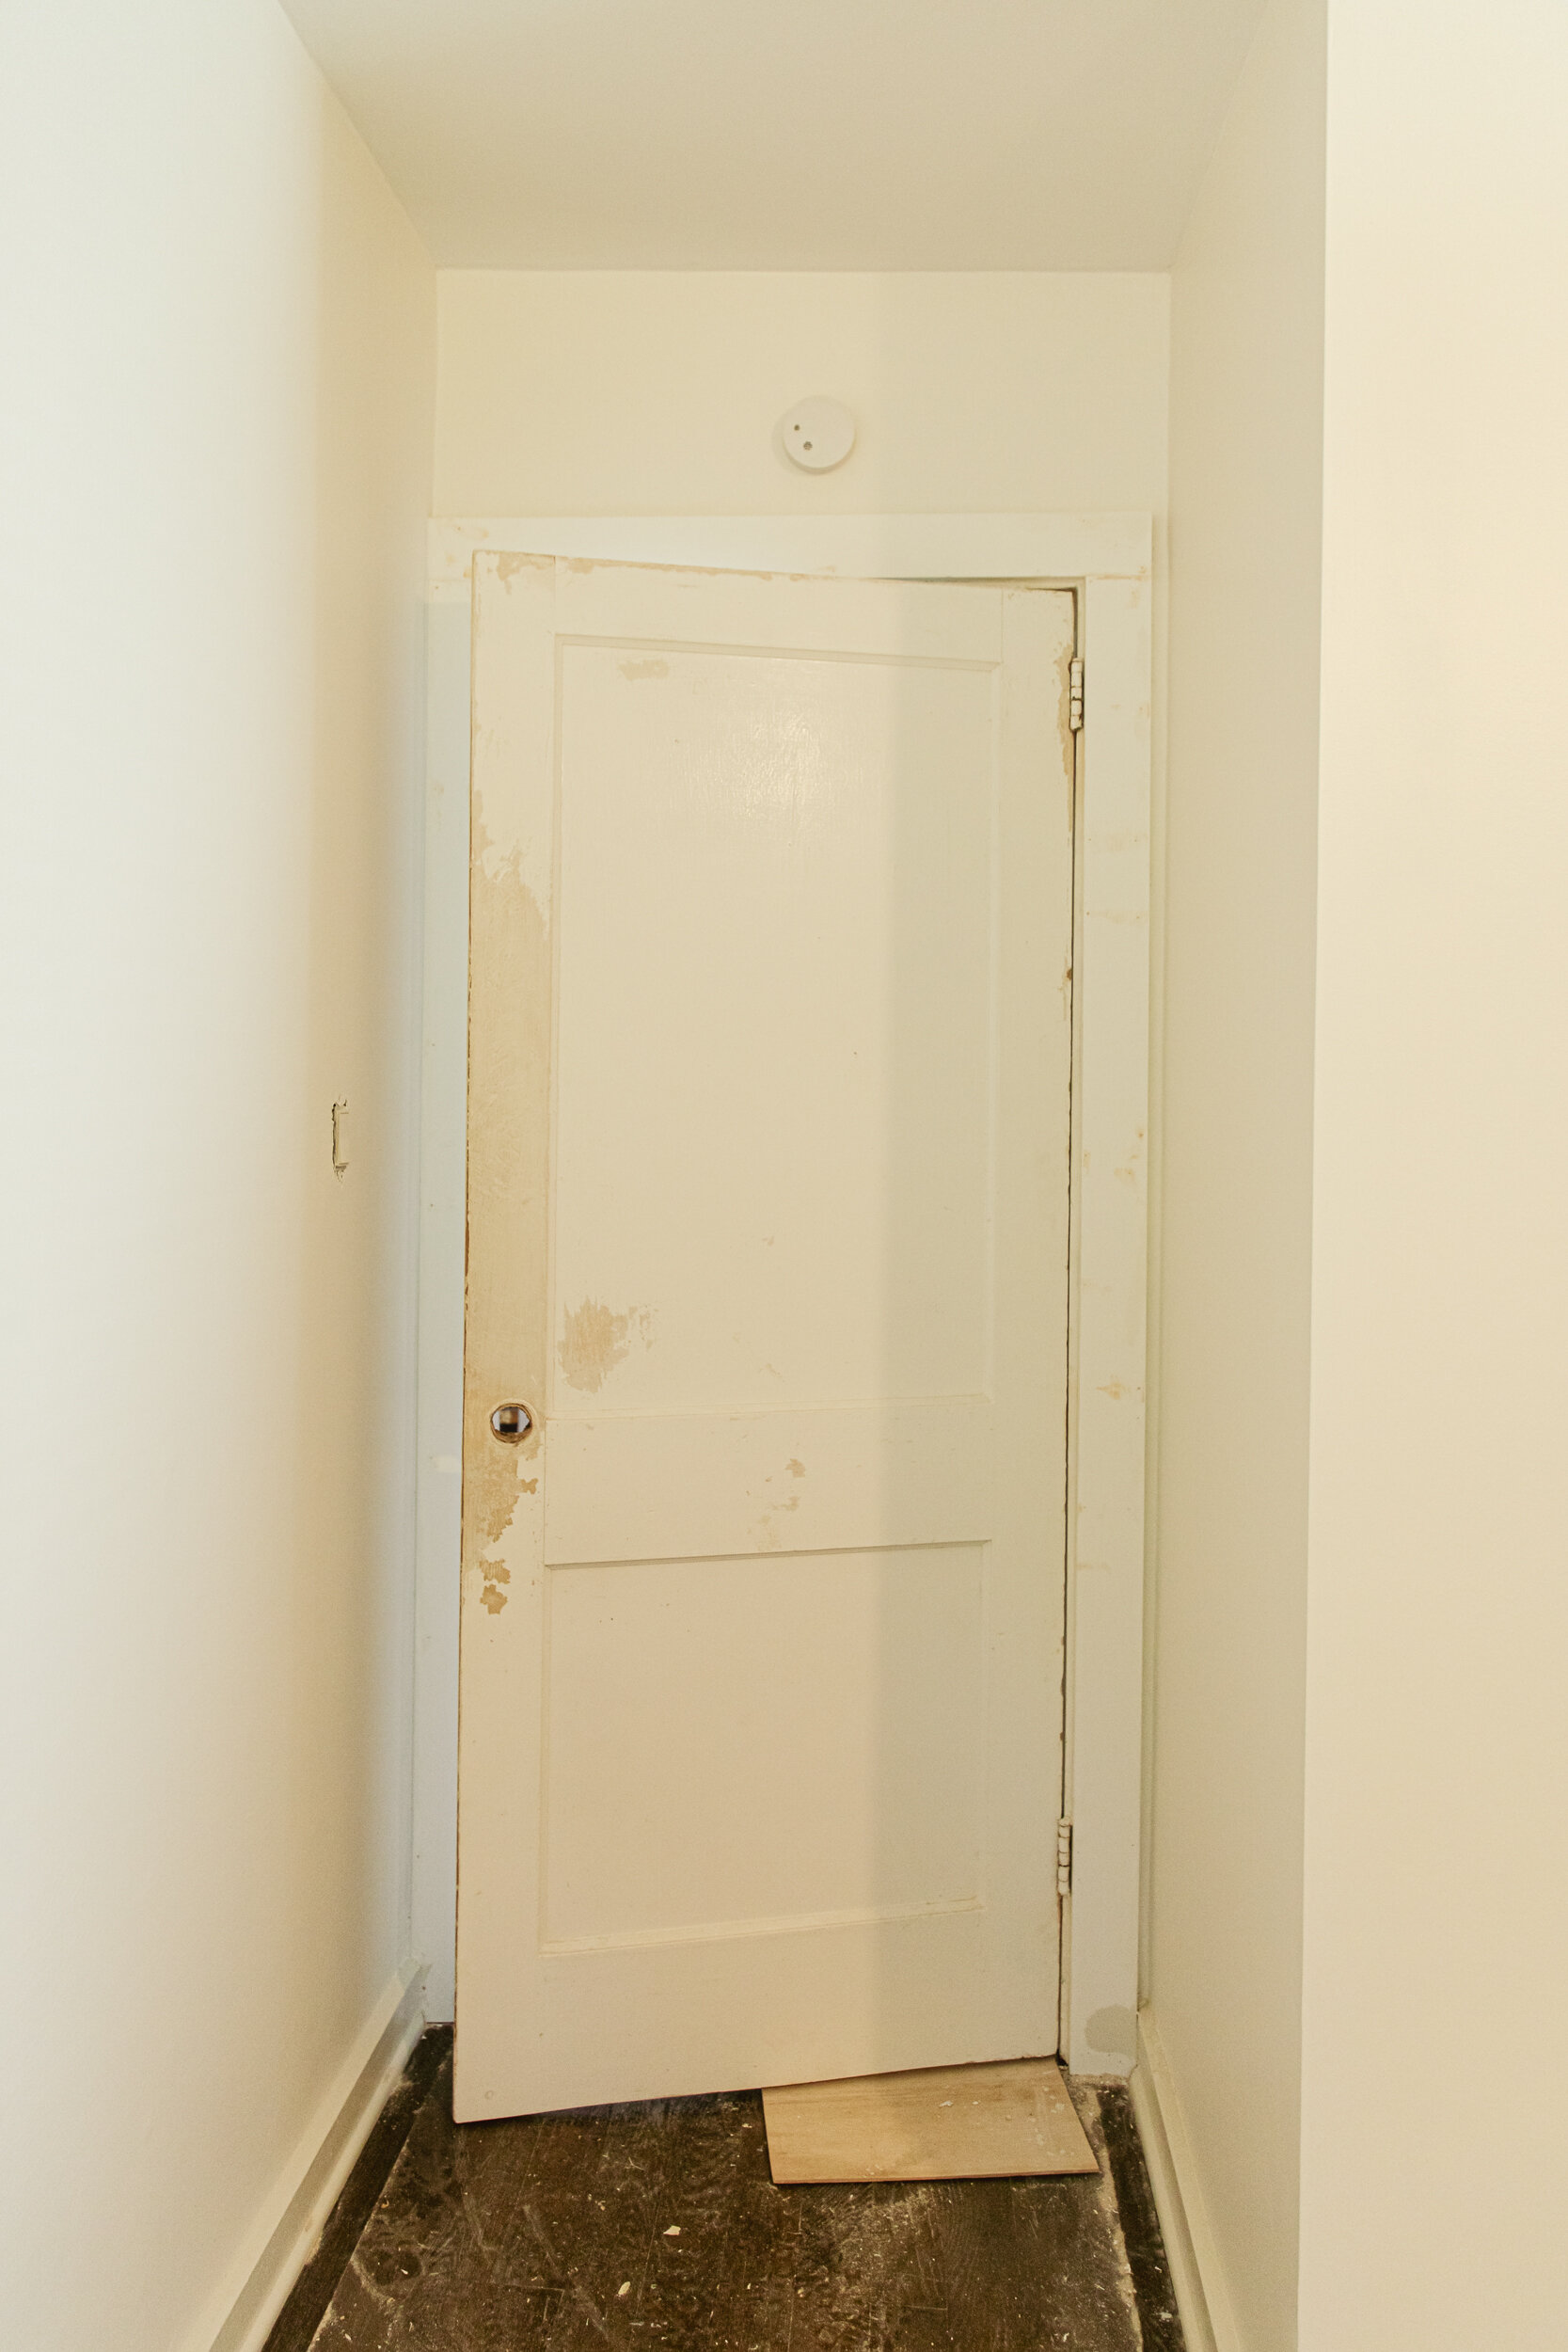
BEFORE

When we started working on this guest bedroom, we really didn’t anticipate it being challenging and thought we could knock it out in a couple of days. However, being that we are very naive to the home renovation process, we quickly learned just how long it takes to actually update a single room.
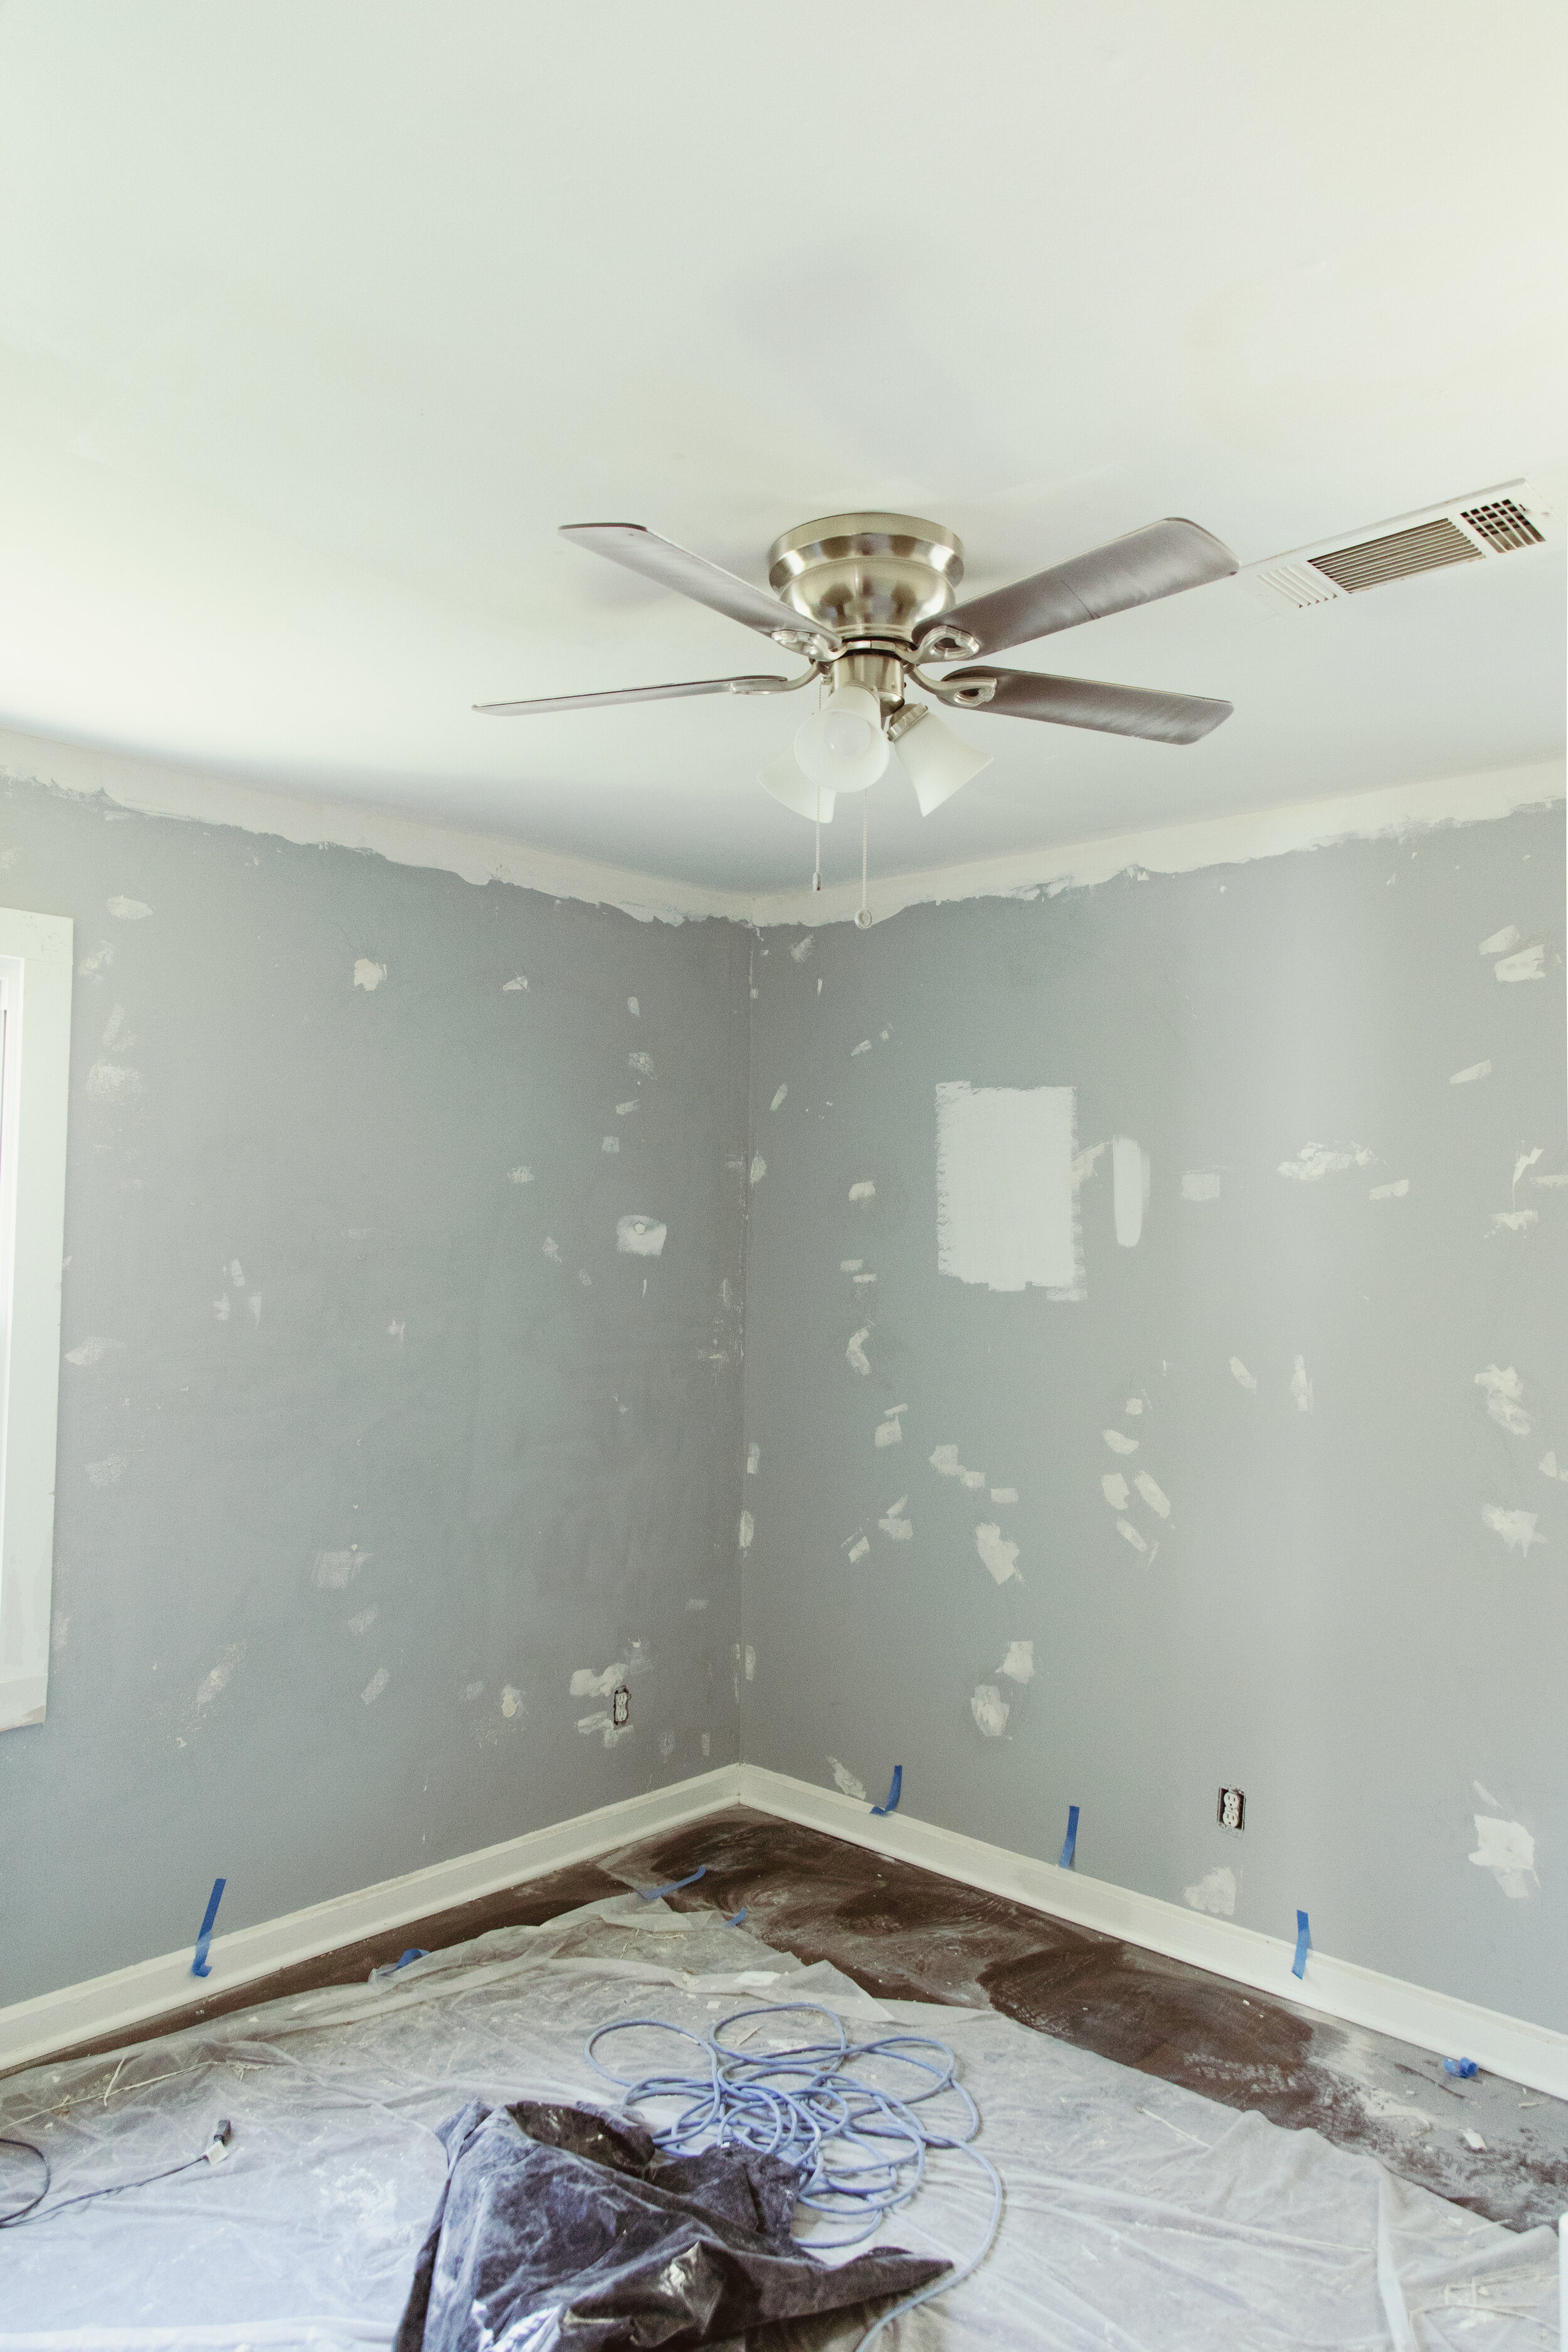
The image to the right (or below if you’re on your phone), shows the room in the state it was in upon purchasing. Looking at the room, you probably think it looks fine, but upon closer inspection there were a lot of issues that we wanted to correct.
Here are a few of the items we wanted to make better:
Sand and smooth out all of the wall bumps
Scrape and sand the window and closet trim as well as the doors
Remove (or replace) the original crown molding in this room (most likely put up when the house was built in the 40s - was in very rough shape)
Repaint the ceiling
Repair the interior of the closet (was really bowed and uneven)
Fix the entry door to the room
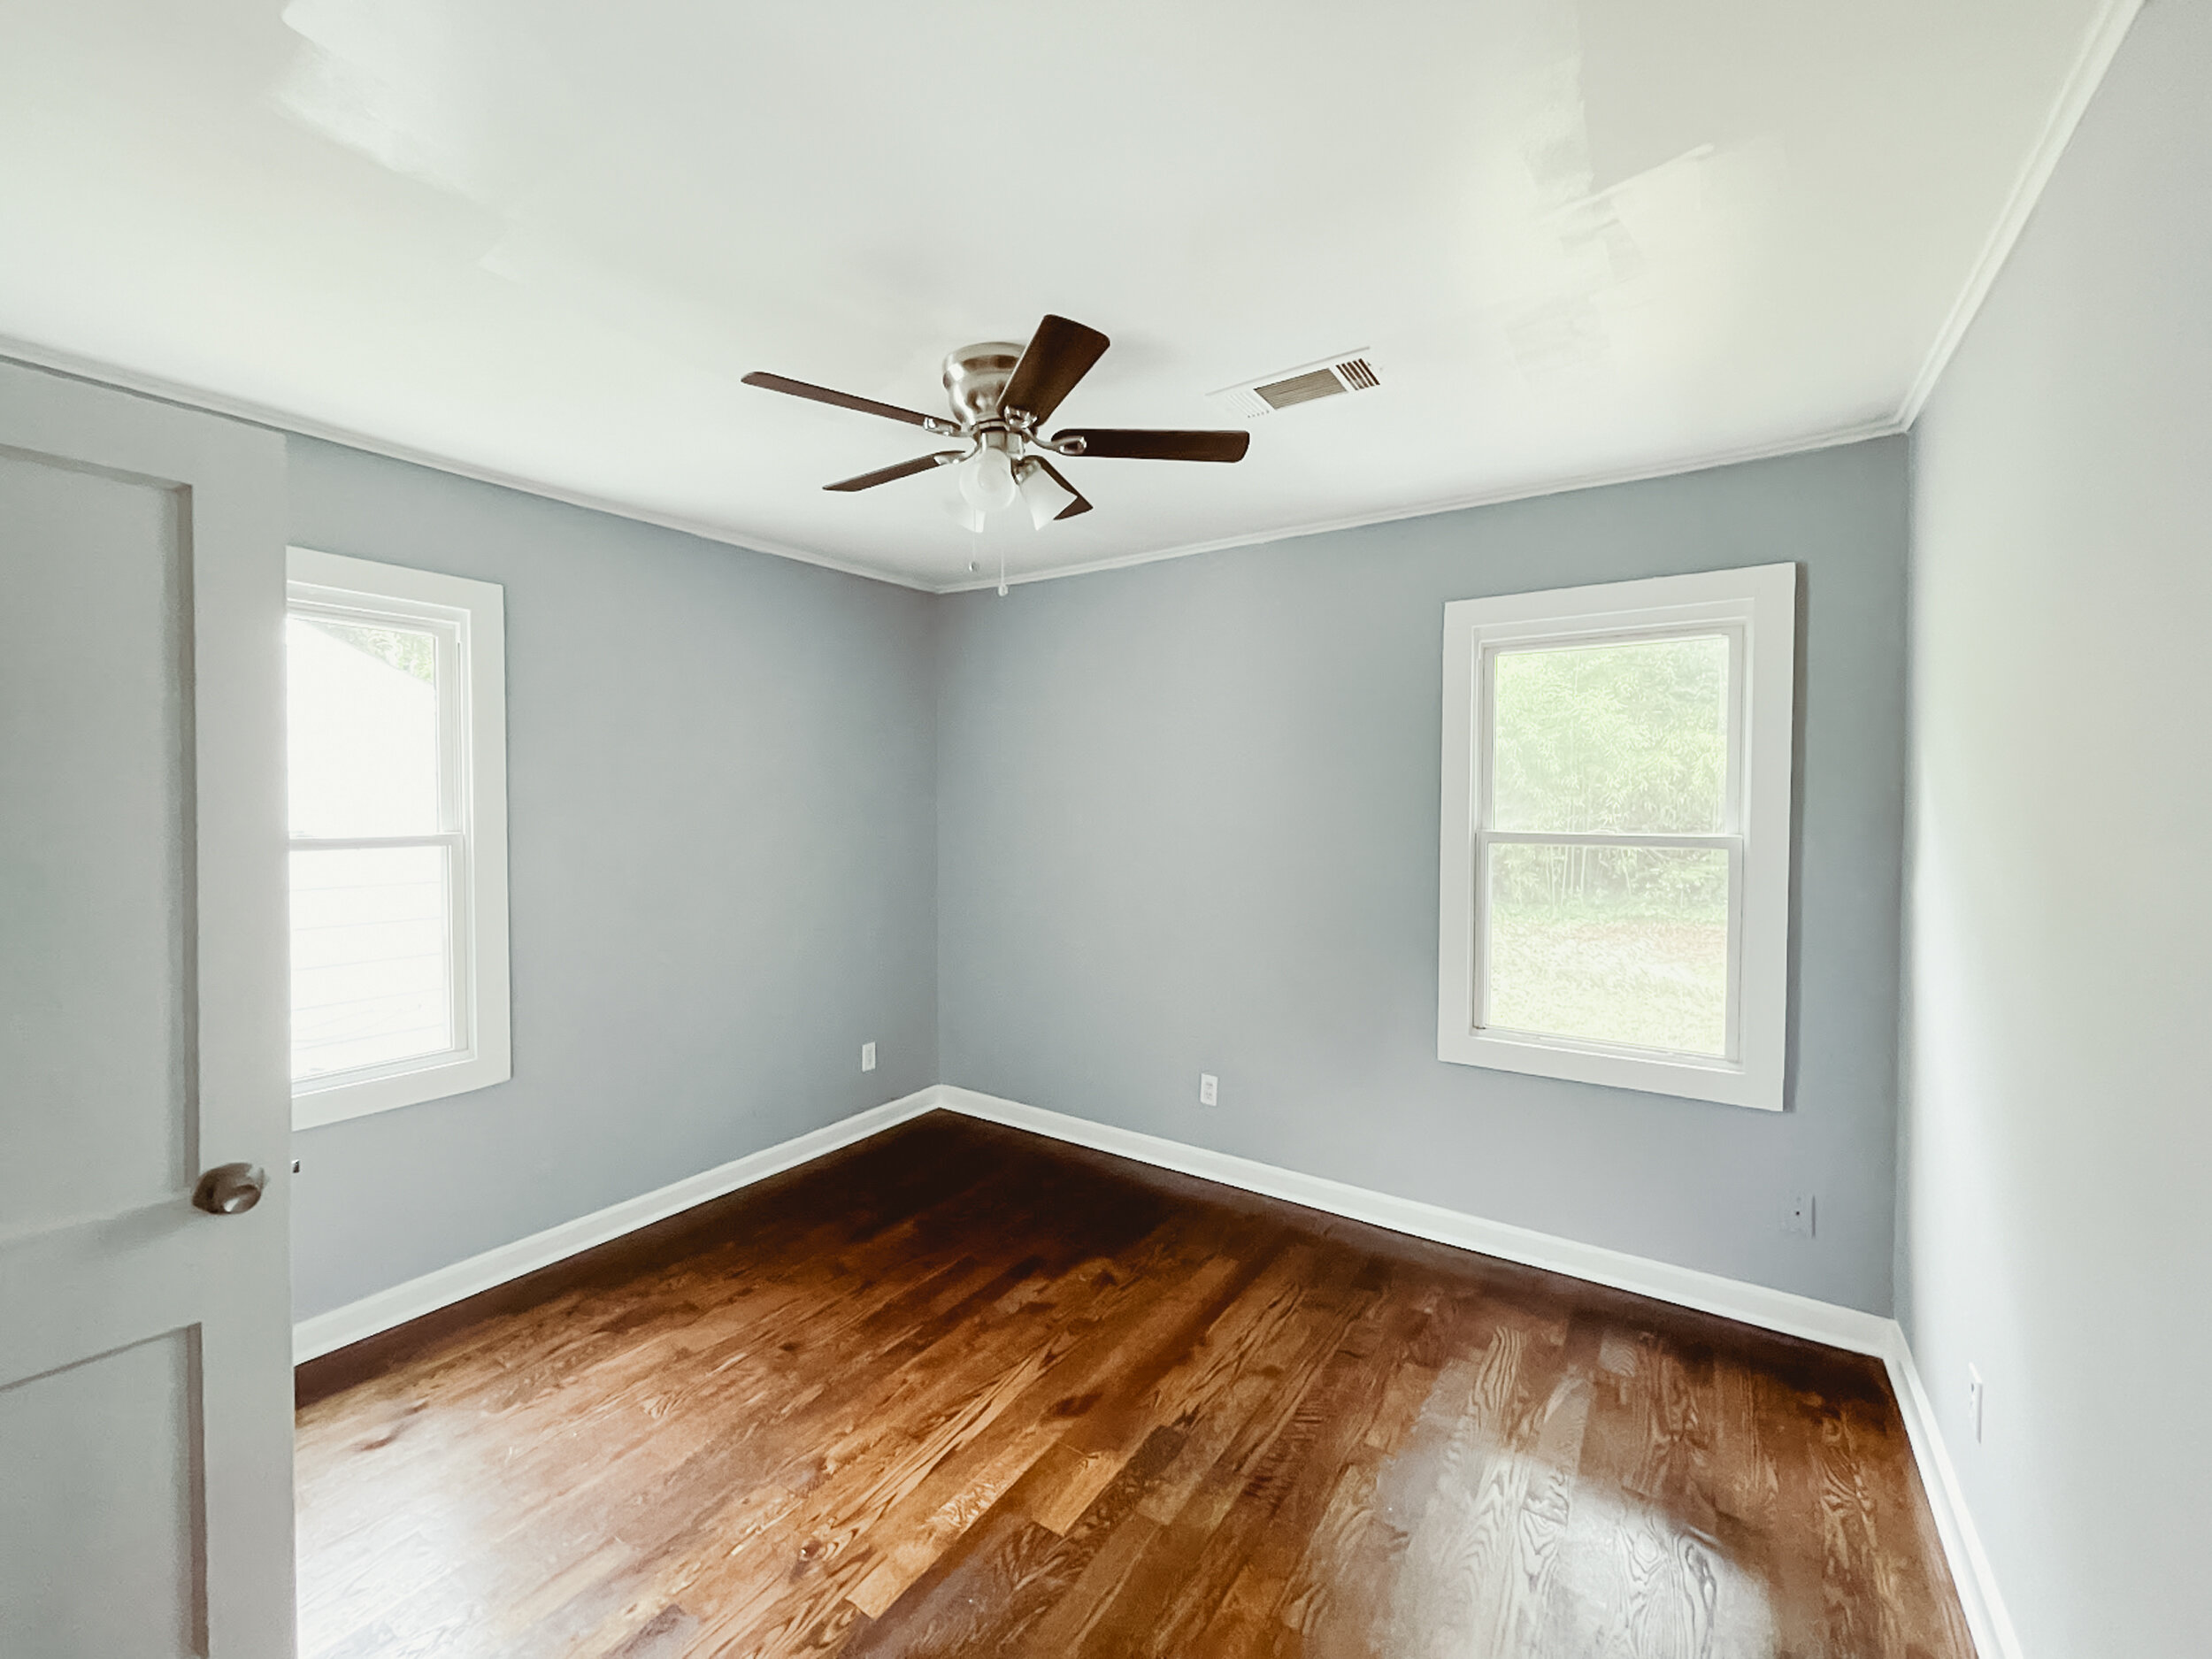
Paint everything something other than this blue/grey
IN PROGRESS
Mudding/Sanding
We started the room by scraping and sanding all of the interior walls and quickly decided we wanted to remove the original crown molding. I really like the look of no crown molding, which meant Ryan had a lot of work cut out for him in that he needed to mud both the ceiling and the wall underneath the crown molding (that was just timbers and attic). My desire for clean lines resulted in a lot of additional time and effort, as the mudding process takes patience and sanding that ends up making the biggest mess you’ve ever seen (see images below).


Paint Colors

Another time roadblock we ran into (which was also my fault) was in regard to paint. Initially, I had selected a paint color called “celery root” which was supposed to be a creamy/green, white. However, the color was pulling too blue/green in this room (and it was the color we were going to paint the entire house in), so after a few tears, I ate the wasted money spent on the 5-gallon bucket of celery root paint and found a new color to paint the walls.
We also got a few paint samples of different trim colors to see what direction we wanted to go with throughout the entire house. Our options were:
Behr Old Celadron (Home Depot)
Behr Crisp Linen (Home Depot)
Behr - Can’t remember. I looked for the swatch everywhere but can’t find it, but we nixed this option pretty quickly because it was too grey feeling.
Out of the three trim options, I was really in love with how Old Celadron looked in this room, because it had such a vintage feel and almost green undertone. However, when I tested it on the living room trim, it just felt too way too dark and wasn’t the overall aesthetic I was aiming for in the rest of the house, so we ultimately went with trim option 2: Behr Crisp Linen.
Door Transformation
The other major issue with this guest bedroom was the entry door. It was crooked, had a huge gap at the bottom and was just overall in pretty rough shape. The easy option would have been to purchase a new door, which we definitely considered, however, my Dad gave the door some good TLC with sanding and wood filling which you can see in the images below.


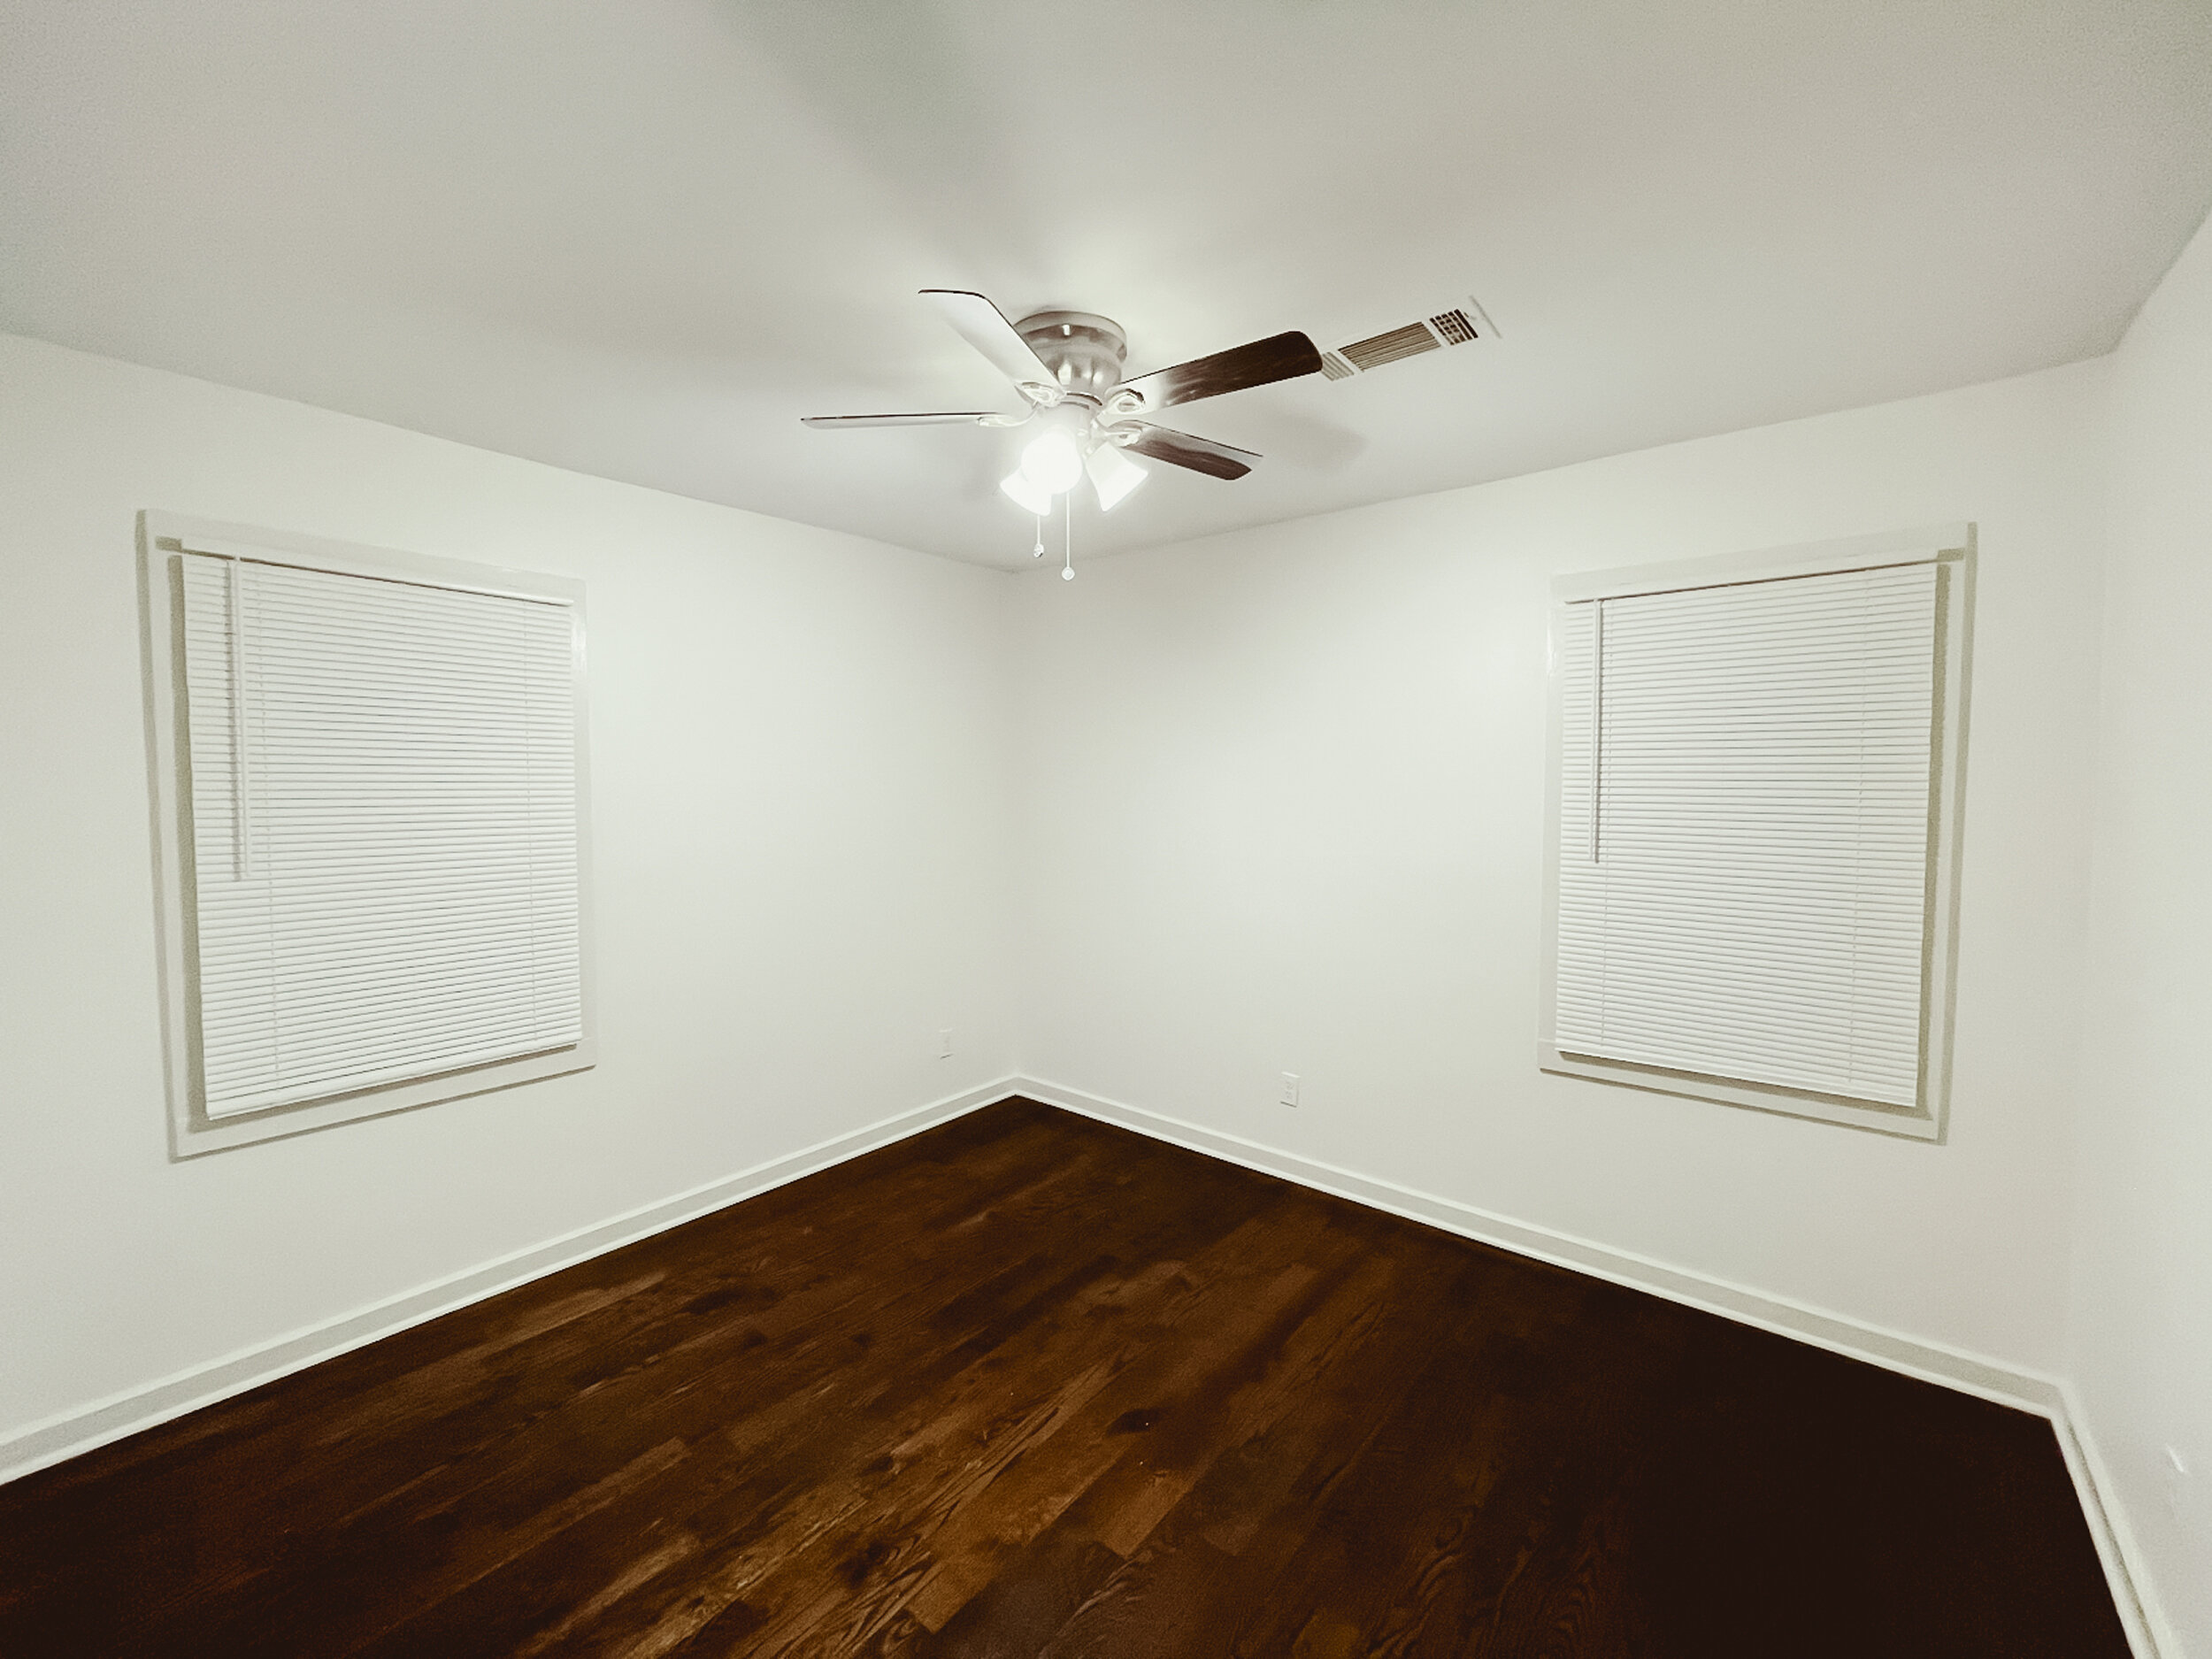
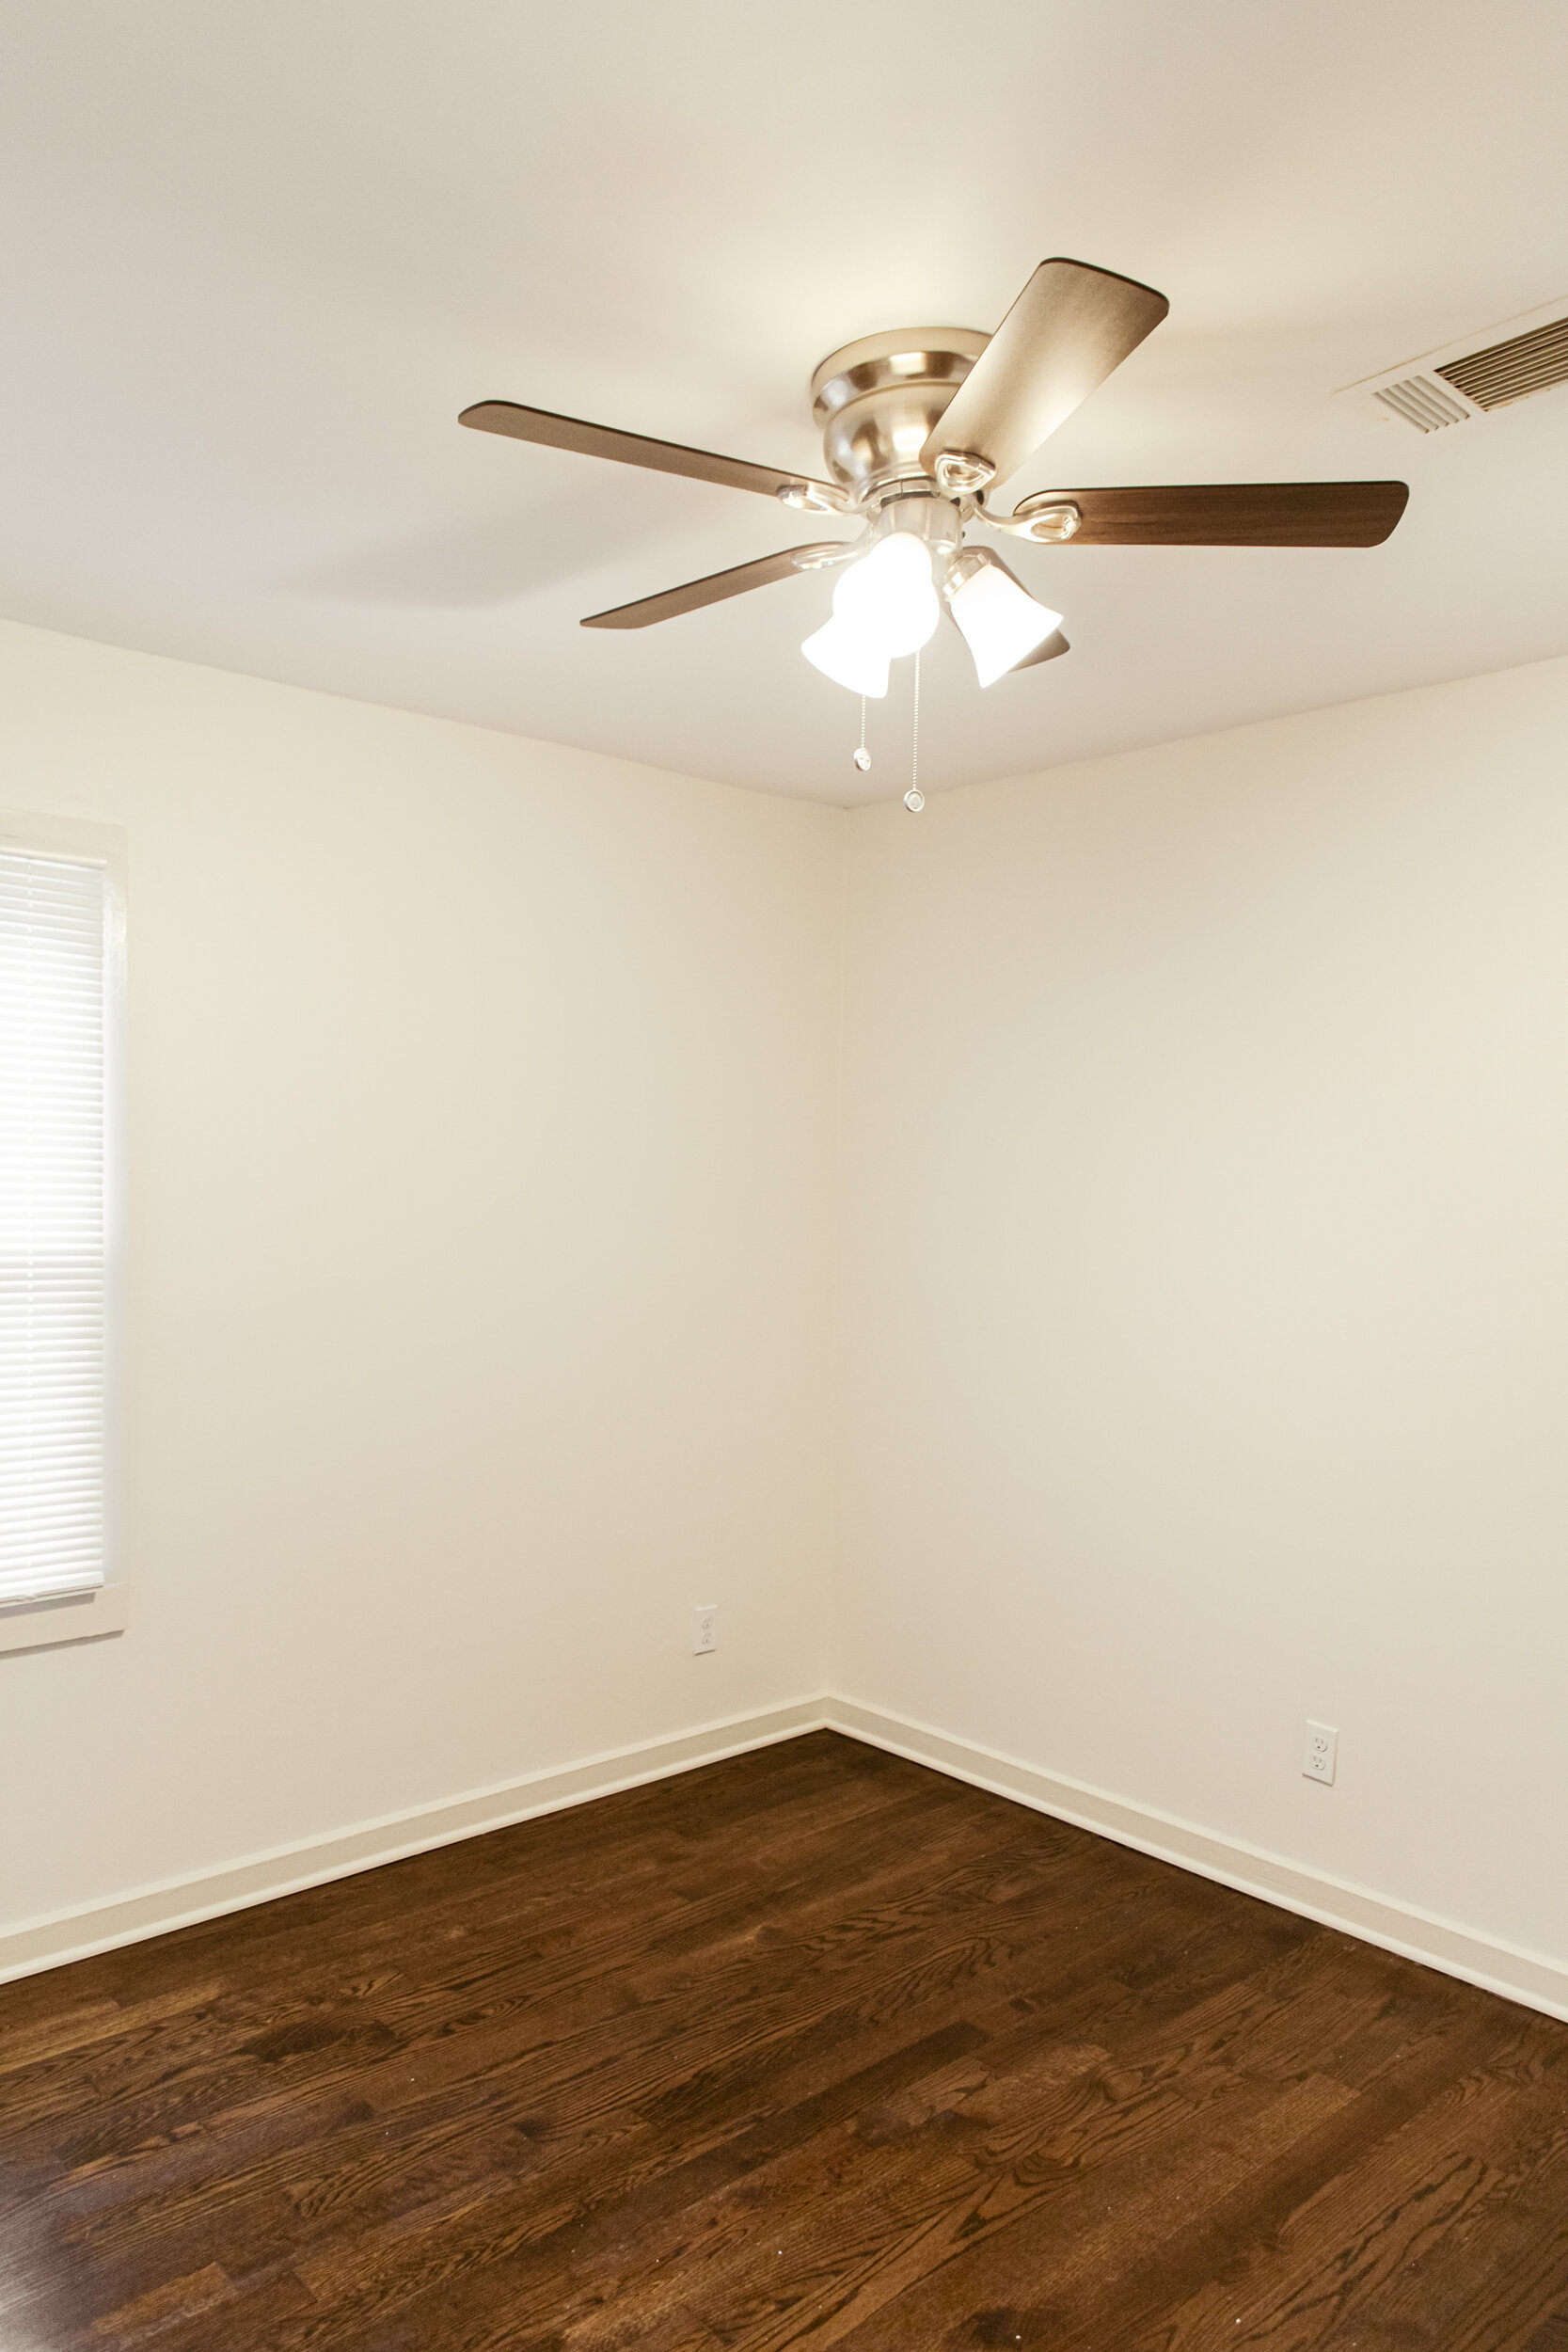
After
The above mudding/sanding, painting and door fix took the entirety of the past two weeks to complete, but we learned so much throughout the process that we can now confidently apply everything we learned to the other rooms and move at a much quicker pace.
Although the room took longer than I had hoped, it was worth it in that I honestly could not be happier with the way it turned out. It feels so much lighter, so much cleaner and just a cozy space to be in!
Click the arrows to see the transformation for yourself!


moving in
We have “officially” moved into this room and slept in it for the first-time last night. After getting in bed, we chatted about how crazy it was to finally be in a room we transformed ourselves and just how completely different the space felt. I wish we could decorate a bit more to make the space feel finished, but since we will be renting both sides roughly a month from now when we move to Paris, I don’t want to mess up any of the walls we worked so hard on. So for now, our simple bed and dresser setup will have to do.


GUest bedroom duplex a - ✔
And that wraps up our very first completed room on this renovation! We have such a long way to go completing both this side (Duplex A) and the other side (Duplex B) before our big move to Paris, but I’m so thankful for all we’ve accomplished so far and can’t wait to see each little space transform before our eyes.
If you want to see real time content of the work we’re doing and BTS videos, be sure to follow us on Instagram! I usually post the current project and our progress daily, so it’s a better way to see things as they’re happening.
And as always, feel free to ask any questions below in the comment section, whether its process related or personal related! We would love to chat with you.
FOLLOW ALONG
For all of our live travel content and BTS, be sure to follow us on social media. You’ll get to see what our life looks like in between travels and get to virtually come along with us whenever we are exploring somewhere new.